Showing posts with label #Project1. Show all posts

Saturday, 18 August 2012

Interaction Design, Project One, Blog Ten

Project One Complete!

Below is a brief description on my experiment and how you use it. I have also included by 8 images giving step by step visual instructions on how to use it, plus closeup details.

'The Hand Stabber' explores the senses touch and sight by testing the users ability in determining where something is expected to touch by seeing it, and where something actually touches by feeling it. This experiment has looked at trying to trick the user into expecting a touch in one position of the hand but getting it in another, it also tests whether the user can determine where they were actually touched. The user wont ultimately get a pleasant experience, but more of a surprising experience if 'The Hand Stabber' is used correctly.


Instructions:
  1. Insert hand into the front hole putting it in as far as you can, keeping it flat to 'The Hand Stabber' interior floor/platform.
  2. Insert the piece of wire provided into the hole at the top of 'The Hand Stabber' slightly then poke/stab it down towards your hand keeping completely vertical(this step can either be performed by the user or a fellow assistant)
  3. Remove hand and wire from 'The Hand Stabber', the experience is now complete


Interaction Design, Project One, Blog Nine

I have now completed a wooden final model for project one. 

The two images below show the last stages of me glueing the walls together.


Below is the final model.
Overall I think the construction and materials of this model are fairly successful. The wood is much stronger than the cardboard and therefore support the workings of it which creates a smoother interaction. I also used a thicker ribbon this time so the wire is less likely to actually hit the hand, however if the wire enters on an odd angle it can still hit the hand so there is still a slight element of danger.

I have tested this project on someone and it worked better than expected. When I stabbed the wire in towards their hand they actually thought I had hit them on the top of the hand when actually they were just pricked on the palm. This was really interesting as it seems the touch sense may not be quite that accurate.

The only limiting thing about this experiment is that the hand really needs to be in the right place otherwise the user may not feel the prick. It works best when the palm is pricked as this is the most sensitive spot on the hand. If the hand is not in far enough it may just slip between the fingers and they wont feel anything.

Sunday, 12 August 2012

Interaction Design, Project One, Blog Eight

I have created another model. This time I have looked at using 1.5mm white card. 
This is the outer shell

I cut out a hole at the top and surrounded it with red card to suggest to the user to stab it.

Here you can see the hole which the bottom sharp wire comes up through.

This is a shot from around the back showing the mechanics of it, I constructed it more or less like I had it in my storyboard

I used a box under the hand platform to contain the square plate which the stabbing wire is connected to so it stays in place when it lifts
This model has been reasonably successful and has proven that the mechanics of my model work. I am quite happy with this model but it has been suggested that it would look better made of wood so I am now going to construct it out of wood, I am also going to use thicker ribbon so the stabbing wire does not miss it.

Saturday, 11 August 2012

Digital Creation, Project One, Blog Nine

Project One Complete!

I have finished my composition of all my 81 models and rendered a high quality image.
(This is not the final HQ render as the file was too large, this is still the same setup just lower quality)
In terms of the composition for my image I went with the idea that all these predators have been exposed by the light whilst looming in the dark. So the shot is of predators looming back into the dark, changing forms as they do so to show the different ways they can loom. For my lighting and material I just wanted fairly simple black and white for maximum contrast to make it confusing to what is a predator and what is just a shadow to enforce the idea of looming. I put a scalely texture on some of the predators to make them look more predatory.

I have also selected my final hero model, the one which I think best shows a slender looming predator. This happened to be my 81st model.

I used the same lighting as my composition image as I wanted to convey the same ideas. In terms of composing this image I wanted it to be appearing from the darkness, again to create the idea of looming and a predator. I picked this model as my hero as I feel it is the most abstract whilst still conveying my three words. When looking back to my precedent image of the shark, I feel this resembles that in an abstract sense due to the sharp claw resembling that of a dorsal fin, also it conveys a looming movement like the shark whilst staying very slender.

Thursday, 9 August 2012

Digital Creation, Project One, Blog Eight

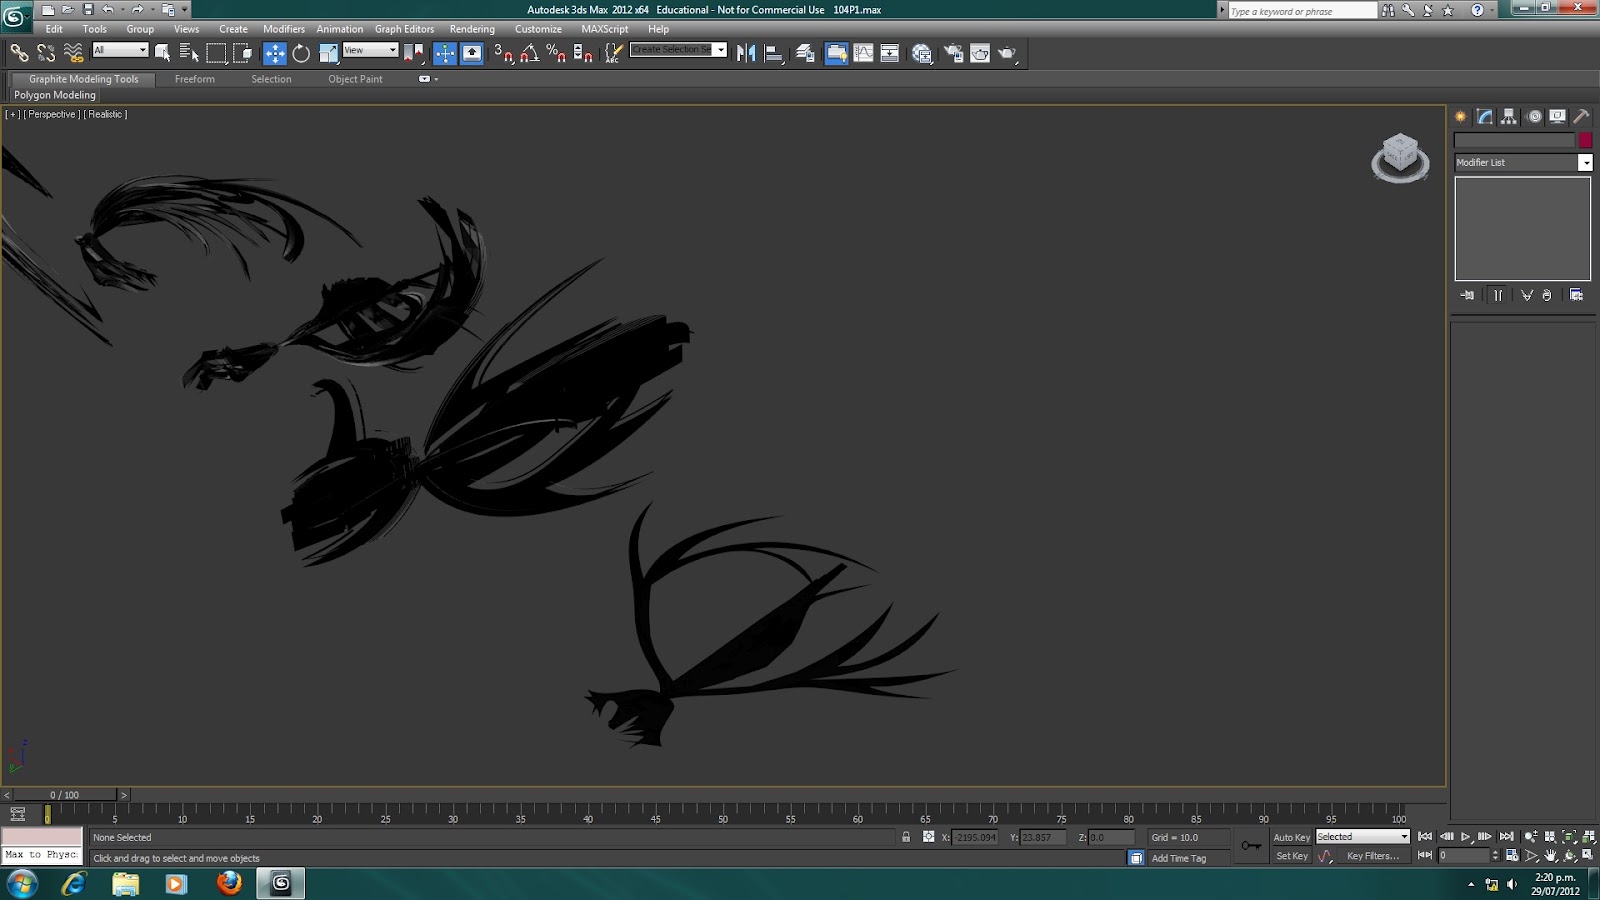
I now have 81 iterations. These are the final few. For these I looked at bringing them back out by reducing the melt feature and using the push feature make them bigger and more ominous, I also used twist and bend to try and make them rise up.
 Now I am looking at composing my iterations. The image above shows my previous layout with my newer iterations out to the right hand side.
Instead of trying to reorder around my previous layout I decided to just take everything out of the shot and bring them in 10 at a time and lay them out. So far I have 20 in the scene.

Interaction Design, Project One, Blog Seven

I have now looked at creating a second mock model out of Ice Cream containers to see if I can create my idea and see if the mechanics work. 

 In the image above you can see the first half of the model. I have created a sharp object which stabs the palm of the hand, this is attached to the string.
This is now the next layer of the model, the floor in which the users hand rests on with a hole for the sharp piece of wire to come through.
Now this is the model with the roof added.
This is what it looks like all put together. For this model I haven't bothered to hide the mechanics of it as you can see the string system out the side.
A problem I have encountered with this model is the string system. Using the contains there is too much friction and so when the stabbing wire is stabbed down towards the hand hitting the string, the string keeps pulling down then just begins pulling down on the roof section of the model instead of tightening at the bottom pushing the sharp piece of wire into the palm.

I think with a more sturdy structure this will not occur, so I think I now need to get onto constructing the final version with maybe something like balsa wood. I would prefer to create it out of something I can take apart so I can tweak it but with something like wood I would have to nail or glue it together which would be annoying to undo all the time. I like the idea of creating something like I have above and then just chucking a nice piece of fabric over it to hide the inner works so then it is still easy to tweak it.

Tuesday, 7 August 2012

Digital Creation, Project One, Blog Seven

I have been looking at lighting and done a few lighting experiments...
The image above is a render from when I was learning to use the spotlight, this wasn't what I wanted, however the effect on the bottom plane + the iteration on it's surface looks very cool and close to the effect I want.
Once I learnt how to use the spotlight I got this effect. This is more or less what I want. I think this works well with my slender looming predators as it's as if someone has exposed them with a torch and they are looming back into the shadows.

This lighting just needs a little more experimenting with, I am thinking of trying to create some filters using a transparent glass plane in front of the camera. The compostion also needs some work, it is currently very cluttered also I still have 16 more iterations to create and add. I so far have 65 iterations. In terms of textures for the background I feel it works as it is with a white background and floor as it creates a successful contrast I did try using a texture but I found it did not work so I think I will leave it as is.

Monday, 6 August 2012

Interaction Design, Project One, Blog Six

After the interim presentation the feedback I got was mainly positive, and now it is a matter of making it and trying to get the effect I want. One thing I was given constructive feedback on was the general shape of the project as it is a box, it was suggested I see if I could find another form whilst getting the same effect. So I am now going to look back on my design and see if there is a way to move away from a box structure, and in doing this I am going to look at what materials I will construct it out of. Additionally another idea I was given was to see if I could make more places where the hand is touched instead of just the palm, so that is something else I will look at but it could be a little difficult. I have also had the idea of putting a barrier between the hand and the belt + sharp object in case something does go wrong and the sharp object hits the hand.

Sunday, 5 August 2012

Interaction Design, Project One, Blog Five

Here is the proposal for my interactive experiment the 'Hand Stabber'...


"The 'Hand Stabber' explores the senses touch and sight by having touch and sight working inversely, so when you visualise where you think something is going to touch it touches somewhere else.

The 'Hand Stabber' is a box in which the user inserts their hand into so they can no longer see it. They then insert a sharp object into the hole on the top of the box and stab it downwards towards the position of the hand inside the box. How it works is before the sharp object reaches the hand it hits a circular belt of ribbon which is looped right around the hands position in the box with a pin attached to it on the side under the hand. Thus once the sharp object hits the looped ribbon at the top end it presses it down, tightening the bottom end pushing the prick up into the palm of the hand while the sharp object has pressed the ribbon down until it is completely tight stopping just before it hits the hand.

Therefore the user thinks they are going to be stabbed on the top of the hand when they are instead pricked in the palm and thus the feeling contradicts what they saw."

I have also made two A4 drawings, the first showing how to use the 'Hand Stabber' and the second showing how it works.

Thursday, 2 August 2012

Digital Creation, Project One, Blog Six

I hae re-rendered a slightly altered version first composition in a higher quality, however I feel that I don't like this one as much as last. I think for my final I will need to spread it a bit more so the iterartions at the bottom are mre visible. Also I am going to play around with lighting to find something more appropriate.
Render #2
 In terms of continuing iterations I have looked at making stretched out slender, looming predators butkeeping them at a smaller scale. I have looked at preading thr predators wing span more.
Continuing iterations
I am now at 60 iterations.

Interaction Design, Project One, Blog Four

I have been continuing to develop my object and had been wondering whether to just target the users fingers in oppose to the whole hand as in terms of construction if I just targeted the whole hand I could make a smaller and less resource and construction intense object. However in discussing it only having the fingers inside the object I think would take away a lot of the 'risk' factor making it seem less scary. Thus I think I will continue to use experiment with the whole hand.

I have also been looking at my storyboard and have decided to have two separate A4 storyboards, thus I can have one which explains how to use it without giving away how it works and then the other which explains the trick behind it.

I am now looking specifically at how I can construct it.

Wednesday, 1 August 2012

Digital Creation, Project One, Blog Five

After not being completely sold on my last texture, I looked for a darker predator skin and found this texture of snake skin...
Snake Skin Texture
I think this texture better suits my models and I may continue to use it. I have applied it to the iterations in the image below.
For these iterations in the image above I have looked at having my predator rising up and increasing in size and wing span to cover a greater area to show it looming over a greater amount of space. I used mainly stretch and bend to achieve this as well as push to break it apart and look more slender and shadow/ghostly like to underline the idea of looming.

After creating these I got to about 40 iterations so I decided to compose these and take a rendered image.

Here is my first composition...
First Composition
For this composition I wanted to have my iterations appearing from a central spot showing there development as they loom away. I decided to have a white floor and wall to make the predators seem like shadows as shadows are often associated with looming, also I like the idea of creating confusion between what is a shadow and what isn't to enforce the idea of a predator looming, as with my precedent image of the shark you just see a silhouette in the distance. 
Precedent Image
I think that in this image the lighting is far too bright I would like to try having it very dark with maybe just a spot light running through the middle, I think this will better bring across the idea of looming. The lighting also made my iterations at the back look grey which I don't like.

After doing that I went back to creating more iterations. I decided to bring the size back down from my previous iterations as I think I have now covered that scale enough. So I used modifiers like twist and removed the stretch modifiers to get smaller looming predators. I also used melt to melt them into the ground a bit to go with my narrative as with my previous iterations they had been looming out into space, now I am taking them back down to loom against the walls as almost shadows.
I am now at about 50 iterations.

Tuesday, 31 July 2012

Digital Creation, Project One, Blog Four


I have since continued creating iterations.
I first looked at stretching my model up on the Z axis in order to make it as slender in this direction as possible. I tried using the push modifier to break some of these iterations apart to make them loom in a more transparent and spread way, as when I think of loom I think of something that takes up a bit of area, so spreading whilst keeping it slender has been another thing I have been trying to accomplish.
I then looked at twisting this vertical iteration, as well as compacting it slightly making it loom in a smaller surface area. 
After that I then began melting the form into both the Y and Z axis, to make my slender predator seem as if it were a looming shadow on the wall.
 Then I looked at bringing it back from the shadows by reducing the melt and stretching and twisting to make it a large looming slender predator.


Once getting to 35 iterations I looked at finding a texture and applying it to one of my models.
I found this image of shark skin which I thought suited a looming slender predator, especially as a picture of a shark is my precedent image.

So I then applied it to my latest iteration...
When applying it I'm not sure if this is the texture I want, I think I want something darker, however perhaps lighting will play a big part. 

Lighting was another thing I quickly looked at.


Looking at these renders I think using shadows will be an important part of my final composition as the shadows I have created with this lighting look very looming slender and predatory.

Sunday, 29 July 2012

Digital Creation, Project One, Blog Three

After bringing my shark model into 3DS Max I found that even though I had taken this shape straight from my precedent image as a 3D model it did not match my words.

It matches slender and also loom to a degree but it doesn't look much like a predator.

Shark model in 3DS Max
Shark model in Solid Works

So I made a few sketches and found a form I thought matched my words better. I then created it in Solid Works and then imported it into 3DS Max.
Second model in 3DS Max
However this was still too flat meaning there was less I could do to it with modifiers on 3DS Max. So I went back to Solid Works and drew more of different angled planes in order to create a better 3D model.

Latest 3D model

I then started modifying it in 3DS Max. In starting this I thought about narrative. I think that my three words are more or less the story, a looming slender predator. With modifying I really want to look at the different ways my model can loom whilst keeping it as a slender predator. 


I first looked at bending it in a bit more to make it more slender in overall width, I also made it look more of a ghostly predator, and loom in a different way.

I then looked at melting my model into the ground to find different ways my model can loom, I really tried to test how far I could go with melting it and breaking it apart using the 'push' modifier, whilst also maintaining a predator and slender look. I also twisted it.
As you can see in the above image, with the model on the right I have completely melted it to the ground, which turns it seem like a shadow which really underlines the idea of a looming predator.


I then looked at bringing it back out of the ground and making it tall and slender as opposed to long and slender. I used mainly stretch to achieve this.

So far I have 20 iterations.